
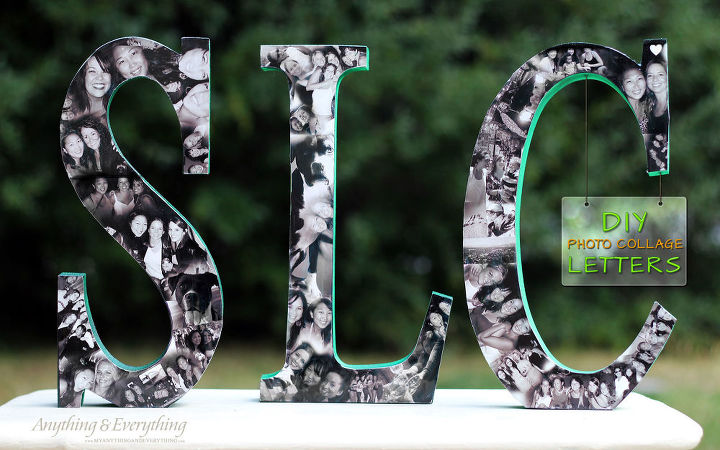
Lovely idea, whether it's a gift for someone else or a keepsake for your home. Create a collage of photos on a single free standing wooden letter or create a name and use it as a name plaque for a bedroom or other wall art in the home. This can be done easily and at low - follow the steps below courtesy of Tara, from Anything & Everything.
A few weekends ago was spent celebrating with my friend that will be moving away to San Diego. So today I am sharing this personalized gift that a friend and I made for her. We wanted to make something that represented SLC and also all the fun times we had together with our group of girlfriends. So being that we live in Salt Lake City, we decided to get some wood blocks that say SLC and put a photo
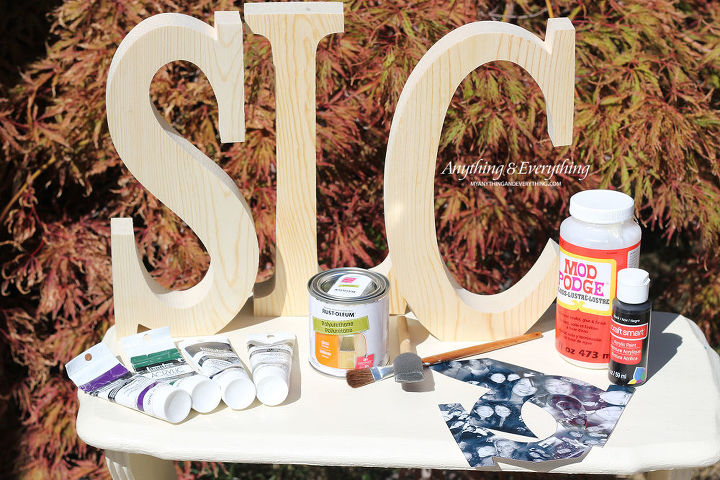
Supplies:
Wood block letters
Paint
Sponge brush
Paint brush
Pictures
Mod podge
Polyurethane
Polyurethane
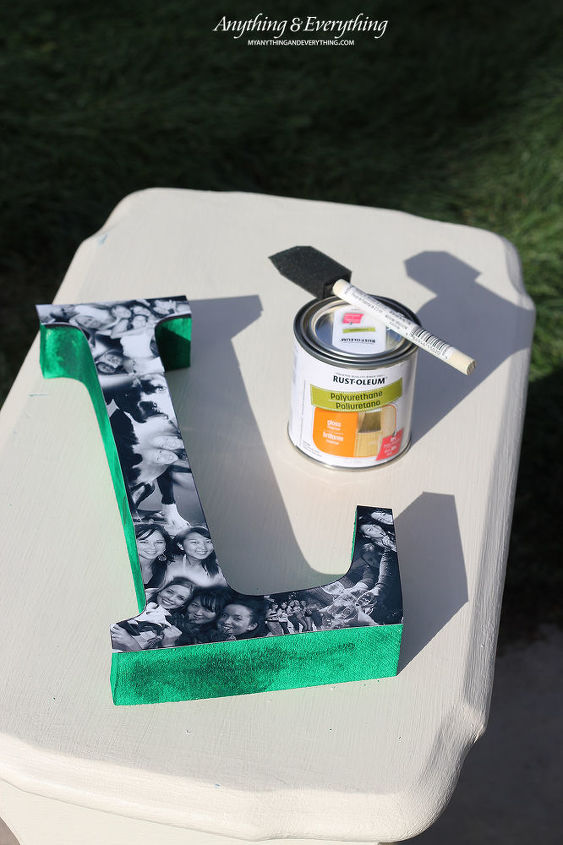
I started off by painting the front of the wood letters black. Knowing that it would be hard to print my photos to match the letters exactly, I painted them black to help hide any seams and mismatches.
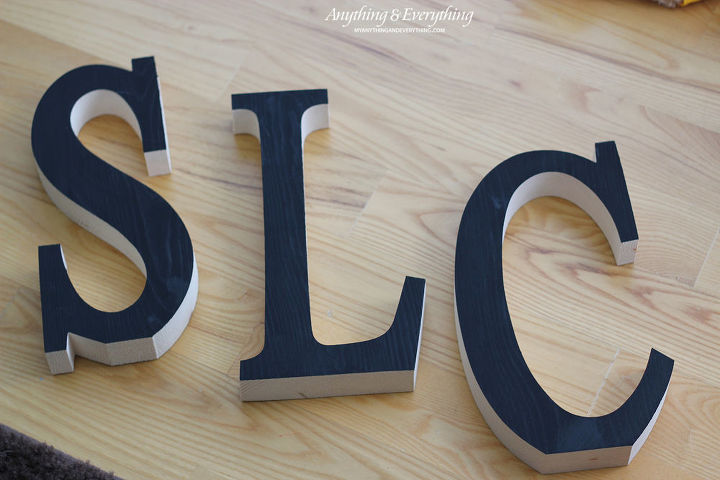
Once the black paint was dry, then I painted the rest of the wood a pretty emerald-green color. I had such a hard time deciding which color to use, but I am happy with how this color turned out!

Now it's time to apply the pictures. Luckily I have a very talented husband who was able to put all the images together for me in a collage using photoshop, so I only had to make a few cuts. If you are unable to do this, you can easily still create the same look just by printing out your pictures individually and cutting them to fit how you like. Apply mod podge to the wood and then place the images on top, so it will be glued on to the wood. Let dry. Then using an X-Acto knife, I trimmed the edges of the pictures that were hanging over the wood.
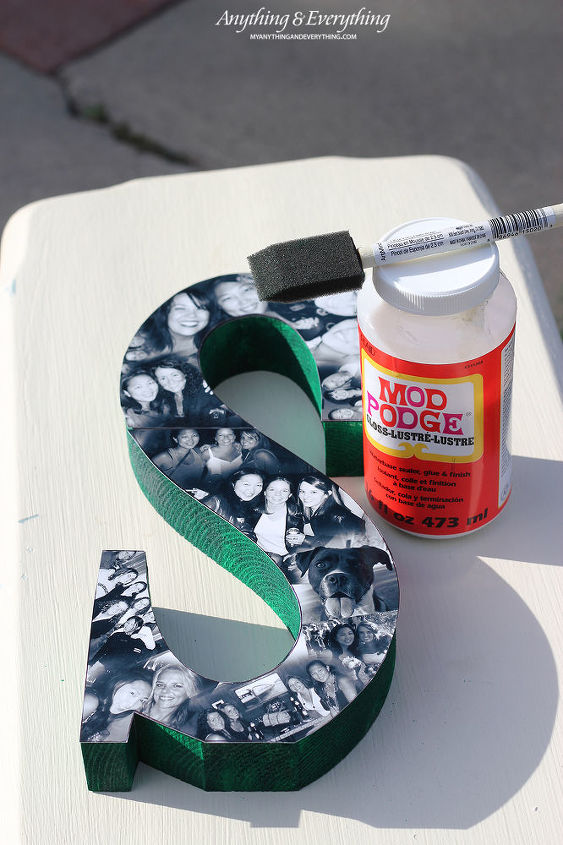
After you have applied all the images to the wood with mod podge and it is completely dry, use a sponge brush and apply a thin coat of polyurethane over the top of the images and on all the painted wood areas.. This will help to secure the images on even stronger and it gives it a nice glossy finish to everything. When I made my DIY Wood Photo Block, I applied mod podge over the top of the image instead of the Polyurethane. I really like the polyurethane better, as I felt like the mod podge gave it a bluish tint once it dried.
Now you have a beautiful photo collage that can be displayed anywhere!
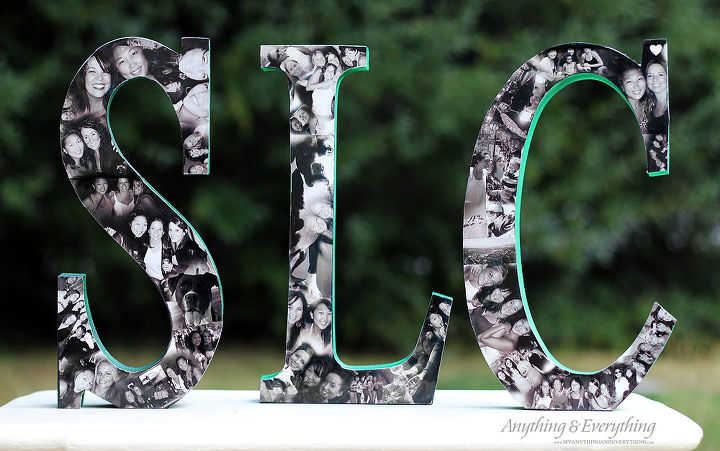
This would be a great gift for anyone and being that you can personalize it anyway you would like makes it even more special.
No comments:
Post a Comment