Showing posts with label Personalised Gifts. Show all posts

Thursday, 11 October 2018

Tips for Painting Wooden Letters - Personalised Wall Letters DIY Craft!


Home decor wooden letters can spell out baby names on the wall of a nursery, form a  monogram or accent custom wreaths. These letters come in a wide variety of sizes you can buy painted and finished or opt for raw wood letters from your local arts and crafts supply store. For a one-of-a-kind custom look, decorate them by hand to coordinate them with your existing decor.
Things You'll Need

  • 220-grit sandpaper
  • Tack cloth
  • Paintbrushes
  • Primer
  • Spray paint or acrylic hand paints
  • Sealant
  • Painter's tape
  • Stencils
  • Pencil
  • Thumb tacks
  • Scrap cardboard or an old box


Prepping the Letters
Raw wooden letters are sometimes a little bit rough. Lightly sand them with fine-grit sandpaper working in the direction of the wood grain. Run your fingers along the sanded surface occasionally to test for smoothness. Once the wood is smooth, wipe off the dust with a tack cloth.
Prepare the wooden letter for painting by covering it with a primer coat on all its paintable surfaces. If you avoid this step, your finished letters might have a blotchy paint appearance because of how some woods soak up the paint.
The Paint Choice
You can choose to spray paint the wooden letters or paint them by hand. Acrylic spray paints provide an excellent base coat on which you can paint artistic details by hand. Depending upon what you envision for your finished look, there are many different paint options from which to choose.
Spray Paint

Spray paint is available in many different colors and comes in can with a spray nozzle. If you want a solid color for your letter, this is a fast and effective way to get even coverage.

Warning
If you elect spray paint, follow manufacturer instructions. Paint outside or in a well-ventilated area and wear a face mask. For best results, paint in temperatures that range from 50 to 90 degrees Fahrenheit.

Acrylic Paint

Acrylic paint comes in small paint bottles or tubes in virtually any color imaginable. Embellish your wooden letters with your own hand-painted designs or use painter's tape and stencils. Match your acrylic paint to bedding, textiles, or other elements of your room design. When you know how to mix paint colors using the artist's color wheel, you can easily create a close enough match.
If working freehand, draw your design onto the letter with pencil prior to painting.

Painting Wooden Letters
Step 1
Push thumb tacks into the back of your letter every 6 inches or so. When you place the letter down on top of the table it will be elevated slightly so you can paint the top and sides of the letter. Cover the table with cardboard, plastic sheeting or a dropcloth to protect it as you paint.
Step 2
Apply the base coat either by spray-painting or hand-painting the letters. Cover the entire surface evenly. Allow the base coat to dry, from 20 minutes to an hour before applying a second coat, based on the specific paint's drying times.
Step 3
Embellish each letter with the chosen designs. For stripes, tape the letter using painter's tape in equal dimensions the size of the stripe. You can also use a stencil brush or a foam pouncer as an alternative for adding shapes, if you do not have freehand drawing skills.
Step 4
Paint the individual designs onto the letters and allow the paint to dry overnight before applying a sealant finish.
Step 5
Apply a spray sealant or other protective finish by hand to your completed letters.

Tip
Spray paint the letters using a consistent horizontal motion. Spray on multiple light coats to avoid runs.  Clean the nozzle of the spray can by holding it upside down and depressing the nozzle for 5 seconds.


Sunday, 7 October 2018

Personalised Free Standing Letters - Photo Collage Keepsake Wall Art


Lovely idea, whether it's a gift for someone else or a keepsake for your home. Create a collage of photos on a single free standing wooden letter or create a name and use it as a name plaque for a bedroom or other wall art in the home. This can be done easily and at low - follow the steps below courtesy of Tara, from Anything & Everything.  


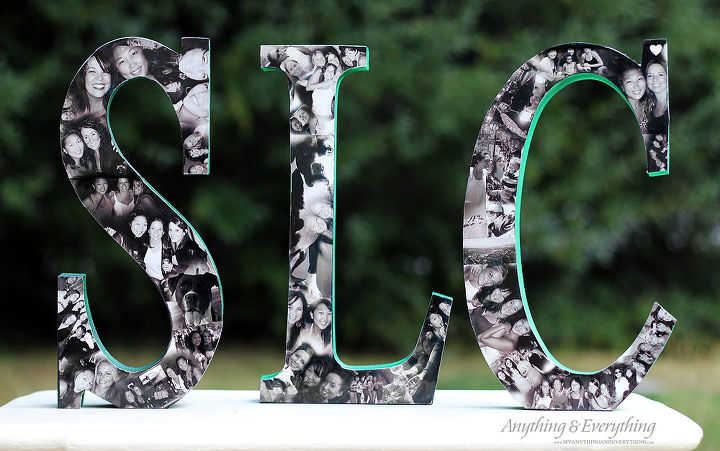
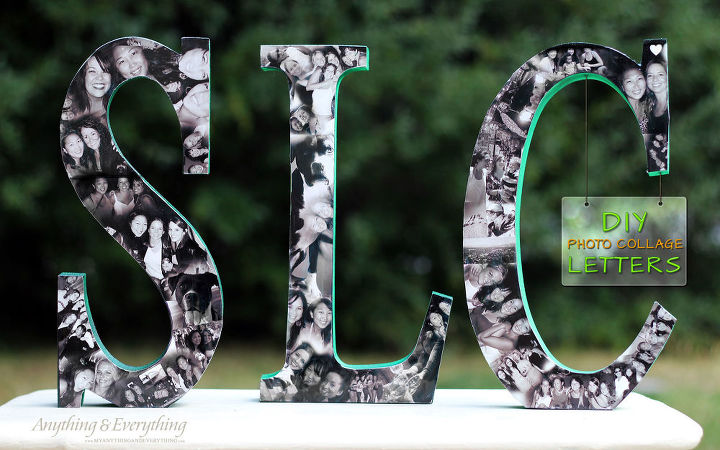
A few weekends ago was spent celebrating with my friend that will be moving away to San Diego. So today I am sharing this personalized gift that a friend and I made for her. We wanted to make something that represented SLC and also all the fun times we had together with our group of girlfriends. So being that we live in Salt Lake City, we decided to get some wood blocks that say SLC and put a photo

diy photo collage letters, crafts, decoupage, diy

diy photo collage letters, crafts, decoupage, diy


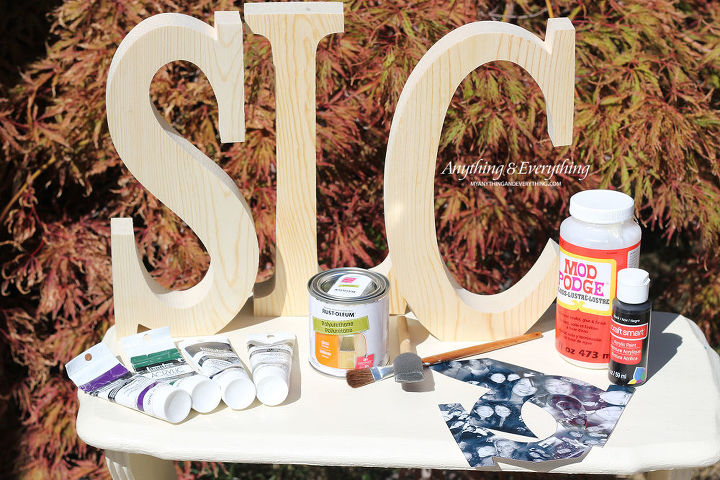
Supplies:

Wood block letters
Paint
Sponge brush
Paint brush
Pictures
Mod podge
Polyurethane


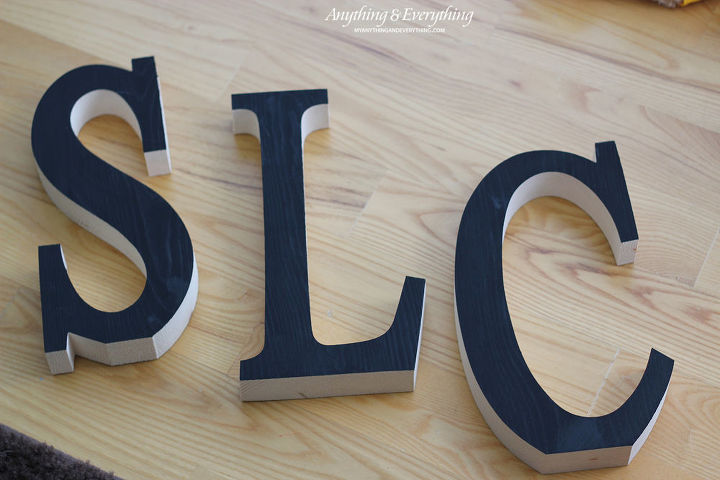
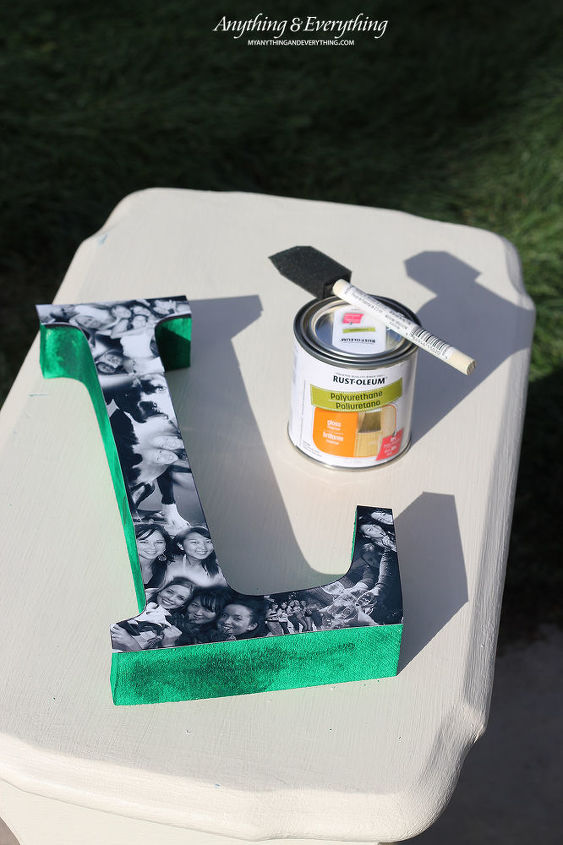
I started off by painting the front of the wood letters black. Knowing that it would be hard to print my photos to match the letters exactly, I painted them black to help hide any seams and mismatches.


diy photo collage letters, crafts, decoupage, diy


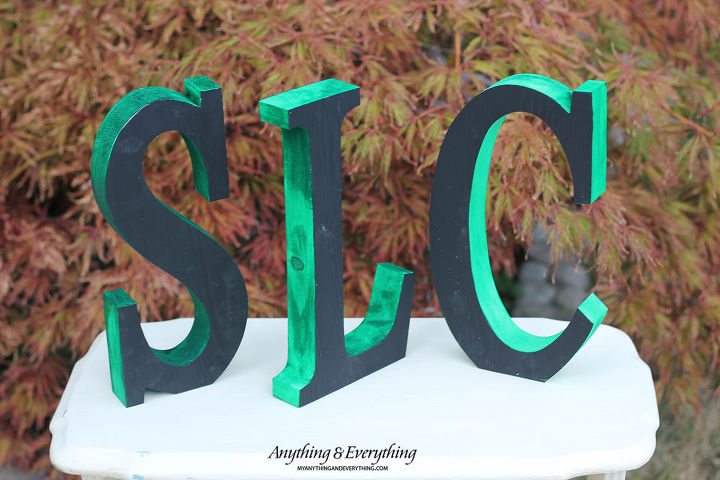
Once the black paint was dry, then I painted the rest of the wood a pretty emerald-green color. I had such a hard time deciding which color to use, but I am happy with how this color turned out!


diy photo collage letters, crafts, decoupage, diy


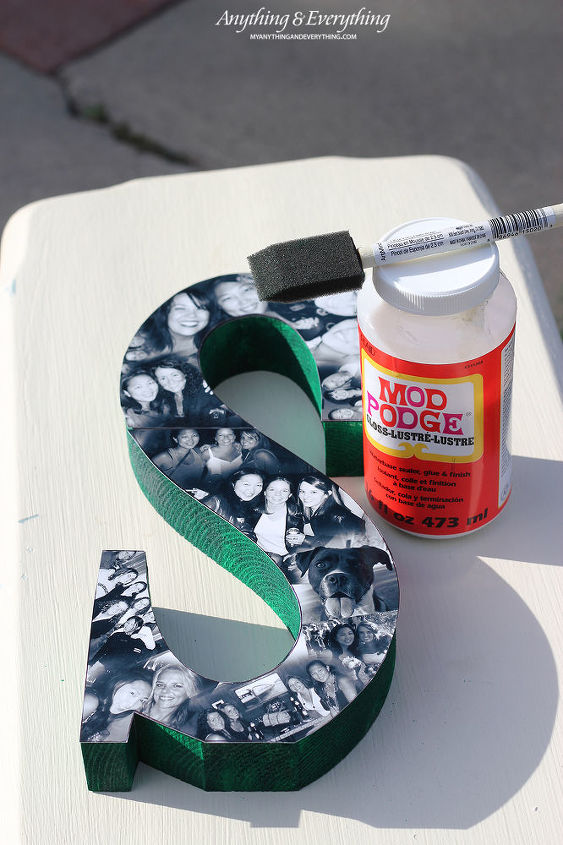
Now it's time to apply the pictures. Luckily I have a very talented husband who was able to put all the images together for me in a collage using photoshop, so I only had to make a few cuts. If you are unable to do this, you can easily still create the same look just by printing out your pictures individually and cutting them to fit how you like. Apply mod podge to the wood and then place the images on top, so it will be glued on to the wood. Let dry. Then using an X-Acto knife, I trimmed the edges of the pictures that were hanging over the wood.


diy photo collage letters, crafts, decoupage, diy


After you have applied all the images to the wood with mod podge and it is completely dry, use a sponge brush and apply a thin coat of polyurethane over the top of the images and on all the painted wood areas.. This will help to secure the images on even stronger and it gives it a nice glossy finish to everything. When I made my DIY Wood Photo Block, I applied mod podge over the top of the image instead of the Polyurethane. I really like the polyurethane better, as I felt like the mod podge gave it a bluish tint once it dried.


diy photo collage letters, crafts, decoupage, diy

Now you have a beautiful photo collage that can be displayed anywhere!


diy photo collage letters, crafts, decoupage, diy

This would be a great gift for anyone and being that you can personalize it anyway you would like makes it even more special.

Friday, 12 October 2012

Personalised Dinosaurs and Giraffes... finally!

In one of our recent posts we shared our new designs for wooden name plaques.  You may recall that we mentioned they were the first of a new series of designs - with many more coming.  This is still the case, but it's taken a little longer than anticipated, following what I can only refer to as a creative block!


We were so pleased with the owls, birds and elephants that we put a lot of pressure on ourselves to make sure that the next part of our project - i.e. the giraffes and dinosaurs - came out just as well. 

It took a couple of weeks to get this far:


We had selected the potential colours that we liked and then....... nothing.......

.......until now. 

Hurrah!

Personalised Dinosaurs Gifts / Name Plaques


Keeping in theme with our dinosaur wooden wall letters, we thought it made sense to stick with green and beige and spots!  The look just as cute on their own as they do together.

Personalised Giraffes Gifts / Name Plaques

We thought we'd try out the giraffes in beige and cream - but they can of course be painted in blues or any other colours. We love the small splashes of colour on them that really brighten them up.  The giraffes would make fab gifts for new babies and christenings.

Well, after such a long wait, we hope we didn't disappoint....!

FKS x


Friday, 17 August 2012

Brand New Products Coming.... Very Soon!

We're really exciting to be launching some brand new product ranges to the website in the coming weeks!!  Some of these products are completely different to those that we already have on offer and without giving too much away, help to create a wonderful keepsake from some of the things that many of us are reluctant to throw away.

I think I've said enough for now - just watch this space...!

Our new product ranges come as part of our review of our website and the offering we have for our customers. We really want to focus on products that are handcrafted where possible; that are British made to support great businesses in our own country and that also support hard working mums and dads that have created a business from their table worktop out of their love and passion for what they do. 

There are so many wonderful businesses and craftspeople designing, creating and making across the country, it's simple breathtaking.  And many of these promise unique products that you simply can't find on the high street, at affordable prices and at great quality.  It's these businesses that we will be working with to expand the products that we can offer you and help you to find them all in one place.

So please do subscribe to the newsletter or this blog.  Follow us on Twitter or Like us on Facebook and you can make sure you are amongst the first to hear about it.

Looking for something?

If you are looking for something specific and haven't been able to find it - so long as it is related to our products, i.e. keepsakes and personalised gifts, then let us know - we'd be happy to look into it and you never know, we may be able to help you on your mission.

Looking to buy / sell handmade products & keepsakes?

If you run a craft business and believe your products could be a fit on our website, please get in touch.  And if you are interested in selling any of our handmade wooden wall letters, plaques and personalised canvas,  again please do get in touch, we'd love to hear from you.

Whilst we're waiting to launch our new product ranges, we'll be running two offers on the website across two of our customers' favourite product categories - more on these in the next post!!

xx